Getting started
Ten minutes from install to a captured, replayable experiment.
1. Create a workspace
A workspace is a self-contained project folder. Create one from the
picker at the bottom of the left rail (or ros init ~/my-project).
Everything you do — runs, notes, todos — lives inside it.
2. Capture your first run
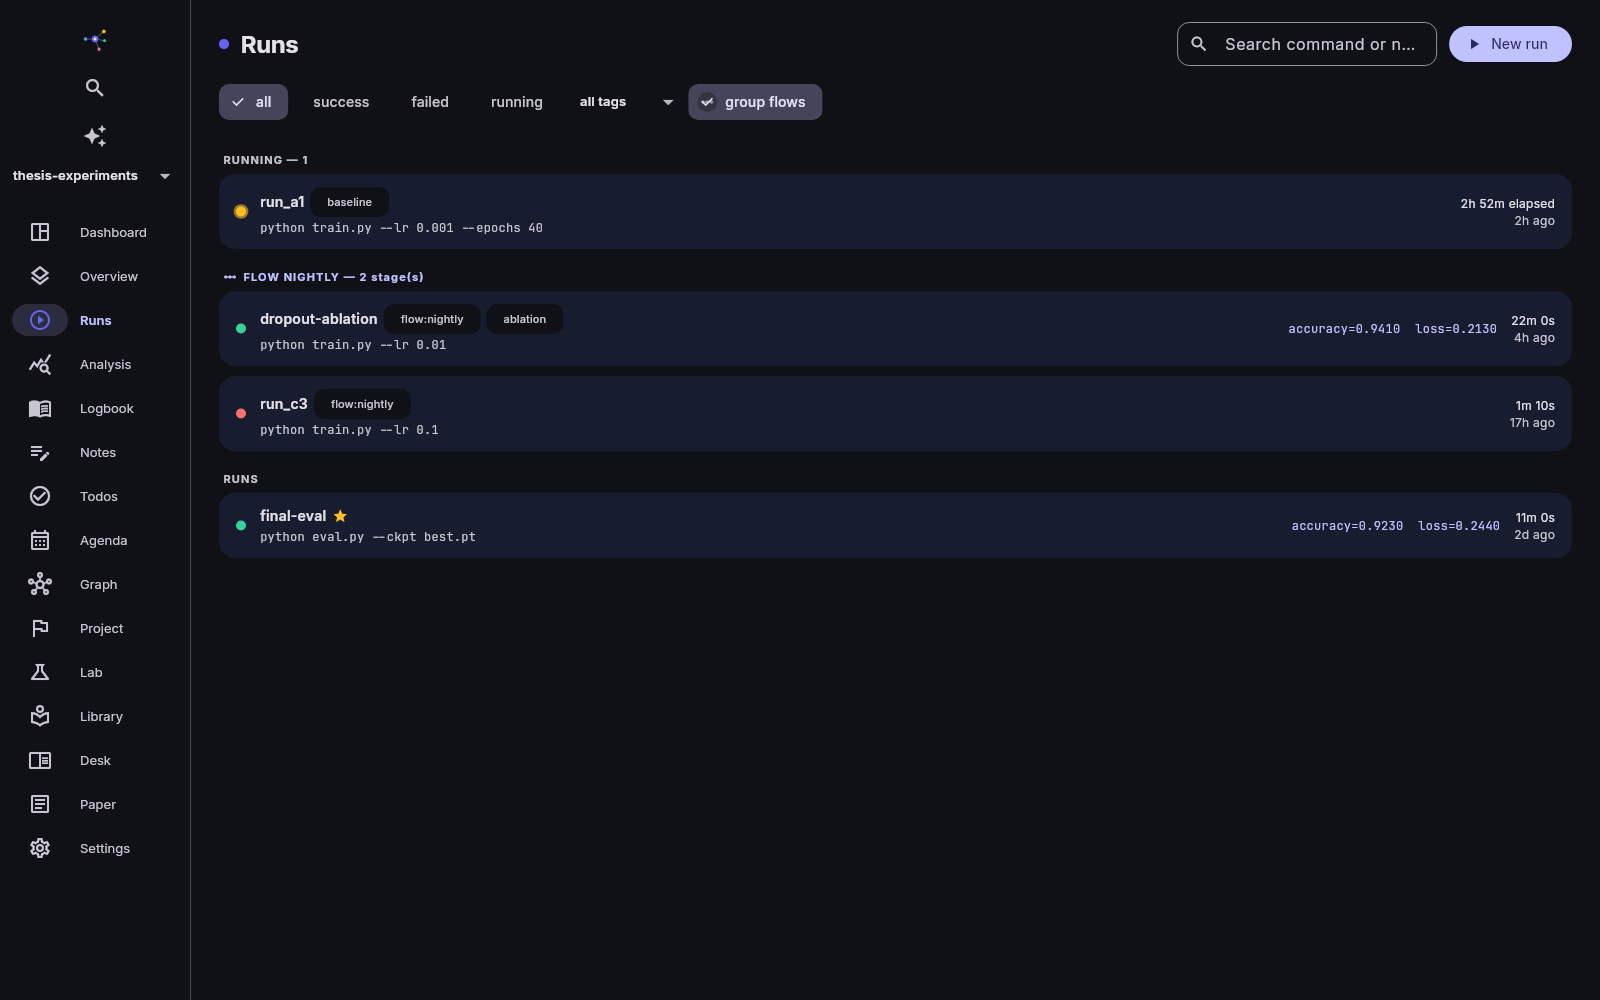
ros run "python train.py --lr 0.05" -n "baseline" -p lr=0.05 -s 42 -t demoOr press New run on the Runs screen. Either way, ResearchOS
records the command, parameters, seed, git commit, environment and
outputs, and streams the logs live. Files your script writes into
outputs/<run-id>/ become content-addressed
artifacts.
Want live metrics? In your script:
from researchos import log
log.metric("loss", 0.42, step=epoch)
They chart themselves on the run's detail page — while it runs.
Working in notebooks? ros run --notebook analysis.ipynb
(or the notebook toggle in the app's run dialog) executes a Jupyter
notebook with the same capture — the executed copy, outputs included,
becomes an artifact of the run.
3. Keep the logbook
On the Logbook screen, each icon in the header opens the composer pre-set to a kind — experiment, observation, idea, meeting, failure, milestone — with a template. Record mood and time if you like; the weekly stats and streak come free. When an entry is a result, seal it: sealed entries are immutable and chained with hashes, so tampering is detectable forever.
4. Plan
In Todos, type naturally: ! send draft to advisor friday
creates a high-priority item due Friday. The Agenda shows every
workspace at once — a busy Tuesday appears once, not once per
workspace — with due todos as deadline flags.
5. Read and write
Add a paper to the Library by DOI or arXiv id (Add by ID —
try 1706.03762), open its PDF on the Desk, highlight, and
save passages as notes. When you write in Paper, cite with
[@citekey] autocomplete and insert figures straight from
run artifacts — with provenance hashes that ros paper check
verifies.
6. (Optional) Sync
Settings → Account → Create an account on your sync server — during
the beta, use https://sync-dev.tramea.org with your invite
code, or run your own server. Then
Enable sync per workspace. On a second computer,
log in and use Settings → "Synced workspaces on this server" → Join
here (or ros sync join <name>): the workspace is
recreated locally with its full history. Two more things unlock once a
workspace syncs: project files sync (your scripts and data
travel encrypted between computers) and remote runs (queue an
experiment from one computer, execute it on another). See
Sync & security for both — and for what
syncing means cryptographically. The short version: the server stores
ciphertext only.
7. (Optional) Ask the AI
Open the assistant from the ✨ icon in the rail. It answers questions grounded in your workspace. Pick how it is powered from the key icon in the chat panel: your own API key from Anthropic (Claude), OpenAI (GPT), Google (Gemini) or Mistral; your plan's included credits (10 questions per month during the beta — your question is relayed to the model provider and forgotten, never stored); or, if your lab has configured one, a model running on the lab's own hardware. Anything you mark as locked stays invisible to it.